Tron Arcade Restoration and Repair Log
9/13/2003
New Laminate and Side Art on Working Tron: 9/13/2003
Below are pictures of us applying new laminate and sideart to the working Tron cabinet. If you would like to do this to one of your games, you will need four items:
- Laminate (Can be obtained through Lowes or some other hardware store)
- 3M High-Strength 90 Spray Adhesive

- Laminate cutting tool
- Sideart (for the game you want to apply the art to)
Some other recommended (but not required) items are:
- Bondo (for patching up any dents in the cabinet)
- Glass Cleaner (for easy application of sideart)
- Squeegee (for application of sideart)
- Electic Sander w/Sandpaper (for removing original paint and sideart)
The first thing we did was apply some Bondo to the bottom of the arcade.
As you can see, the arcade itself was very beaten up on the bottom. However, after the Bondo application it looked much better.

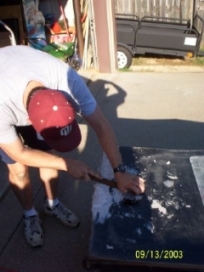

Application of Bondo to the Bottom of the Cabinet
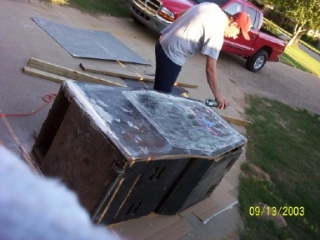
Next, we sanded down the side of the arcade with an electric sander.
This makes it easier for the glue to stick when you apply the laminate.

Sanded Side of the Cabinet
Then, we applied the glue to the side of the arcade and the laminate.
Side of the Cabinet w/Glue
Finally, we applied the laminate and the sideart and you can see the results below.


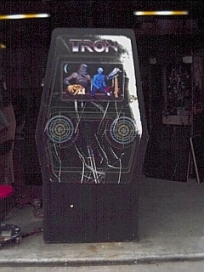
Finished Side and Before & After Pics
Wired Coin Button on Working Tron: 9/13/2003
By wiring a coin button on the working tron, we keep from having to open the coin box and manually coining the game. This keeps the coin
mechs from breaking, especially if you have kids around. This shows you how to do it.
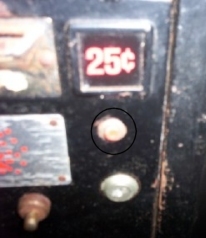

Coin Button Installation
|
|
